DIY: How to lay the perfect Easter table setting
Posted on Apr 06, 2017
Easter in almost here. If you are planning to gather family or friends of this holiday period then this creative fresh flowers and eggs Easter centre piece is a fabulous way to decorate your home or theme your table setting.
This project is quick and easy, it is also a lovely activity to get children involved in this Easter.
You will need
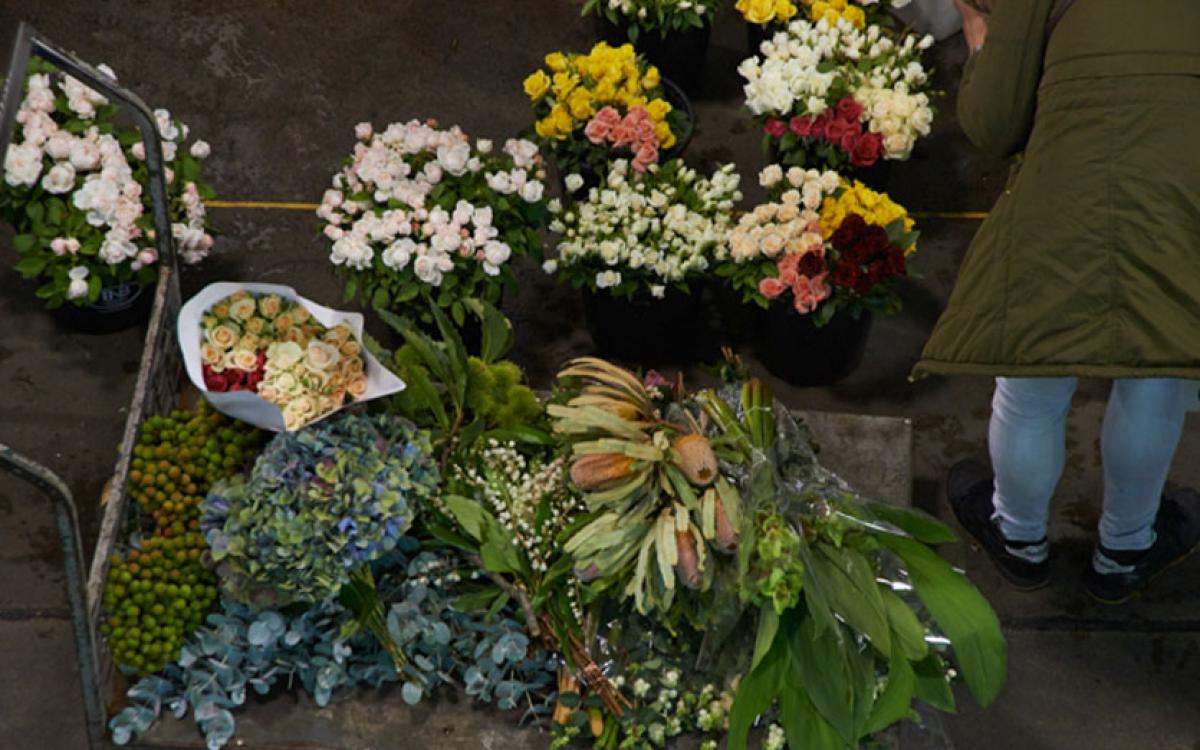
Beautiful fresh flowers. Always opt for flowers that are in season. For Easter, these include bird of paradise, dahlias, hyacinths, fressia, celosia, ornamental kale, tuberose, cornflower, daisies, sunflowers, Easter daisy, protea, gerberas, tulips, snapdragons, pineapple lilies and David Austin roses. Visit your local florist to select your favourite blooms.
- A drinking glass
- A large glass vase
- Secateurs or scissors
- Chocolate Easter eggs or dyed Easter eggs (see how-to guide below)
- Creativity and a love of all things Easter
Lets get creative
1. Snip off the bottom of your stems. It is a good idea to vary their lengths to add dimension and depth to your arrangement.

2. Gather the flowers together in an arrangement. We recommend that you spread different colours and flowers evenly throughout the bouquet.

3. Collect your chocolate Easter Eggs or dyed Easter Eggs. To find out how to dye your own eggs, scroll to the bottom of this story.

4. Fill your drinking glass with water and place the glass in the vase. Place the eggs delicately around the glass. Get creative! Play around with different colour combinations and feel free to add anything that you think will make it more festive.

5. Place your bouquet in the glass of water and make the final adjustments to your masterpiece.
There you have it. A quick and easy celebratory Easter table setting that is beautiful enough to distract people from chocolate (for a short time).
How to Dye Your Own Easter Eggs
Materials
- 1 dozen large WHITE eggs
- Food dye (as many colours as you like)
- 1 teaspoon white wine vinegar
- ½ cup boiling water
- Glitter (optional)
- White craft glue (optional)
- Olive oil (optional)
- Masking tape (optional)
- Wax paper
Directions
- Hard boil your eggs by adding them to boiling water for 10 minutes.
- To make each dye bath add 1 tsp vinegar and 10 drops of food colouring to ½ cup boiling water. You can create new colours by mixing red and yellow to make orange or green and blue for turquoise.
- Dip the eggs in the dye baths for 3-5 minutes. If you are aiming for a darker, richer colour you can leave them longer. You can even make a half/half combination if you feel like being adventurous. Alternatively, tie dyed eggs can be created by adding a tablespoon of olive oil to your dye bath and lightly rolling the egg in the liquid so that only some of the dye is picked up.
- Use tongs to remove the eggs and place on wax paper to dry.
- If you wish to add glitter to your creation, wait until the egg has dried, then brush the egg with a thin coat of craft glue. After, spoon glitter on the egg and wait for them to dry on the wax paper. You can use masking tape to create patterns with the glitter.
Have a happy and safe Easter.
You may also like
-
 7 common flowers and their secret meanings
 -
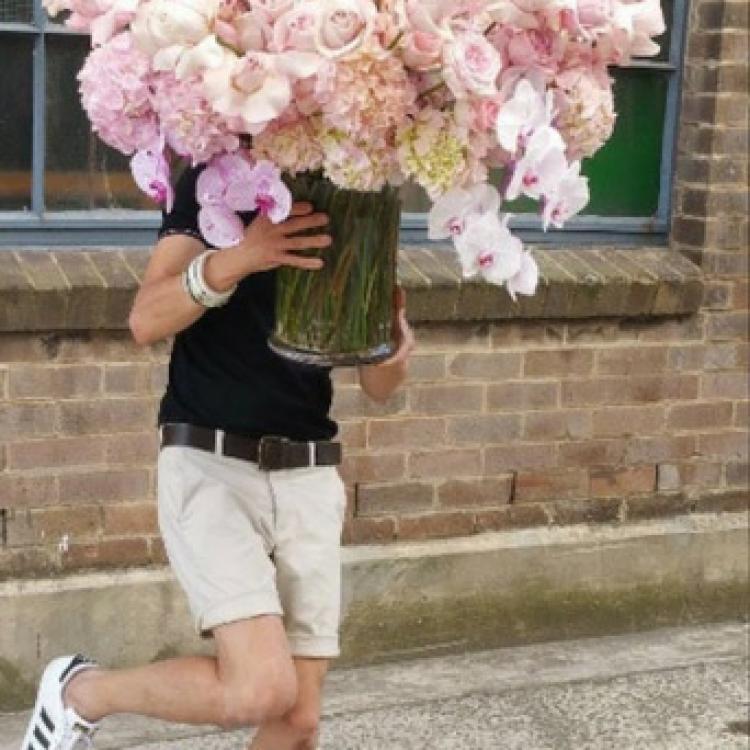 A Day in the life of a florist: Seed Flora
 -
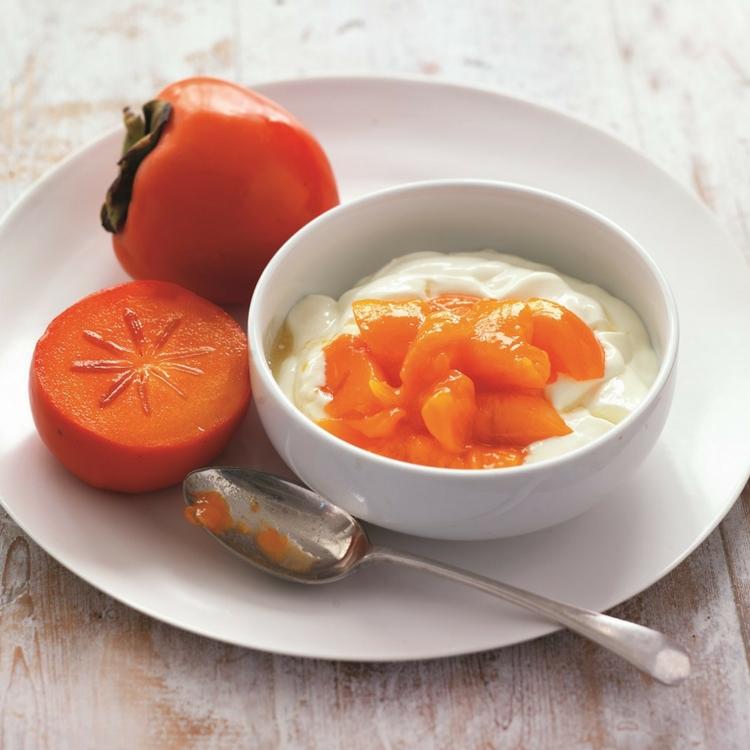 Perfect persimmons


Add a Comment